




|
|

|
 How to Build an Inspection RobotNo time to build your own? We sell Inspection Robots! Introduction to DIY Inspection RobotsDo you need to be able to see in areas that are difficult or impossible access by a human? If so, then an inspection robot is just what you need. This page is dedicated to building a robot that has a wireless camera with a pan-and-tilt system that can be controlled remotely to reach these tight spaces. The is page will walk you through the basics of how to make your very own inspection robot. Of course, if you are not comfortable with some of the assembly steps listed on this page, we can build a robot to your exact specifications. Since we specialize in building custom robots, our prices are very reasonable and the quality is unmatched. There are very few, if any, other robot manufacturers that offer this service. Request your custom robot here. There are many uses for inspection robots. We have built robots for the following applications:
Video of a Prebuilt Inspection RobotWe have built many inspection robots over the years. This page is for the DIYer, but to give a basic overview, check out the video below of one of our prebuilt robots, a dirt-simple inspection robot. The prebuilt robot in the video is listed here. Building a DIY Inspection RobotThere are several things to consider when building an inspection robot. To start, you'll need a base for the robot to which you will add the controls, the camera system, pan and tilt system, lights (if you want them), wireless video transmission, video receiver and monitor, DVR (optional), sensors, etc. Putting all these parts together will take some time and a lot of foresight and knowledge. We have a lot of experience with this and we will try to pass some of this knowledge on to you with this support page. Please read through it and if you have any questions or comments, please post on our forums!. Thanks and Enjoy Selecting the Robot ChassisThe first decision that generally needs to be made is which robot platform to use. Figure out what components and features you would like in your robot and that will give you an idea of which platform to use. Do you need something small and compact to maneuver in tight spaces? Do you need something that has extra room to mount electronics and sensors? Once you know answers to questions like these you are ready to select a chassis. We have many standard chassis/robot platforms to choose from. We also sell the parts if you would prefer to build a custom robot chassis. Please take a look at our DIY page on building a robot if you are interested in going down that road.
Selecting Control SystemThere are several methods to control the robot. This section is just for sending data to the robot to control/drive it. The two main methods for the DIYer or hobbyist are RC (Remote/Radio Control) and WiFi. Both have their pros and cons. Other methods not discussed here include using wireless radios, like XBee radios and tethering the robot (which is beneficial if wireless will not work, but you have to drag a tether with the robot).
Selecting a CameraDetermining what kind of camera you need depends on lighting conditions and how much detail you need to see. Our fixed cameras are listed here. If you just need a general image but do not need a lot of detail an IR camera is the most inexpensive option. IR cameras work well in low-light conditions. They have IR illumination LEDs and when dark will illuminate IR light to help it see. The IR light will only go so far. Some of the IR cameras we sell have more LEDs in them for seeing greater distances in total darkness. For a more detailed picture we recommend using a zoom camera. We offer a zoom camera with a 30X optical zoom with autofocus and manual focus. The disadvantage of the zoom camera is it requires a little more effort to control. A simple method is to use our double pole RC relay switch and send 12V to it and then attach the output of the relay switch to the zoom terminals (the reversing polarity will zoom the camera in and out). Typically the zoom cameras are not IR, because if you zoom in on something far away, the IR light will not be on the object so it will not see. The 27X zoom camera we sell sees very well in low light, but some light is needed (the better the lighting, the better the image quality). Selecting the Pan-and-Tilt SystemPan and tilt systems give you to full control of your camera and allow you to easily look in any direction. Most of our robots have skid steering so you can always pan the camera by spinning the robot itself. We offer several different pan and tilt systems. The system you select depends mostly on the camera you select. If you select a system with bigger servos (HS-785 Sail Winch Servo) it will need a separate power supply. The 25 Watt adjustable regulator board kit is best for this. Just tune it in for 6V to power the servos. For lower power pan and tilts that use standard servos, the power from the receiver can be used to power the servos. In most cases the receiver is powered from the motor controller such as the Sabertooth's 5V 1A regulator. Refer to the schematic shown on the bottom of this page for more details on wiring the robot. Another method of getting pan and tilt is to use a dome camera. These have the camera and pan and tilt built into one unit. If you get one with WiFi, you get the video transmission too. There are some major drawbacks to this, however. You will likely be mounting it upside down from its intended use, so the image will need to be flipped or you will have to dismantle the camera and physically flip the camera in the housing. Also, they will typically not tilt down any further than horizontal, making it hard to use as a driving camera (if you tilt the camera it will be fine when looking forward, but panning sideways will result in a tilted image. They are also typically designed to be mounted to something static so bouncing around on a robot may or may not present issues. Finally, the controls of the pan and tilt are typically a lot more involved if you want to do use your remote (the pan and tilt, and zoom if a PTZ dome is used, is done from the web interface of the camera). We typically will take the dome cameras apart and add stiffeners, flip the cameras, put silicone on all the hardware so nothing vibrates or rattles loose, and control the PTZ functions with RS485 controls, which is all beyond the DIY discussions on this page. Selecting the Wireless VideoThe video coming back from the robot to the operator is what makes this whole project an inspection robot. As with the method to control the robot, there are many ways you can transmit the video back from the robot to the operator. Here, Wifi is typically the easiest. There are a ton of WiFi cameras out there. We no longer sell them, but you can get a decent WiFi camera for less than $200 on eBay. The better WiFi cameras from companies like Axis, etc. will be much better quality, but will also cost a lot more. Please see the discussion of PTZ cameras above. These are the ways that we typically transmit the video:
Optional LightingYou know what you are building the robot for, so you need to decide if you need lighting. If it's going to be dark, you can get away with using an IR camera as discussed above, but for the best picture quality good lighting is needed . We offer LED boards that are easy to use and give excellent light for lower power. They require 5VDC. If you want to remotely control them, then you can use an RC switch to turn them on and off. Keep in mind they do draw some power, so if you are driving servos, a receiver, and a bunch of lights all off the 5V regulator on your Sabertooth you might need a separate regulator. Another way of adding light is to simply strap a flashlight onto the robot. Refer to the links below for more details of possible products for the lighting system of your inspection robot. Putting it all togetherSo, the above sections should get you most of the way. There are lots of things that can not be taught, but need to be experienced. Things like electrical noise, interference, ground loops, range, separation of the 2.4GHz RC and 900MHz transmitter resulting in better performance, and when and where ferrite beads. All these things are learned by trying different things and seeing what works best for you. For a high-quality result have SuperDroid Robots' experienced professionals help you with the selection of the robot and do the assembly for you! Photo Gallery 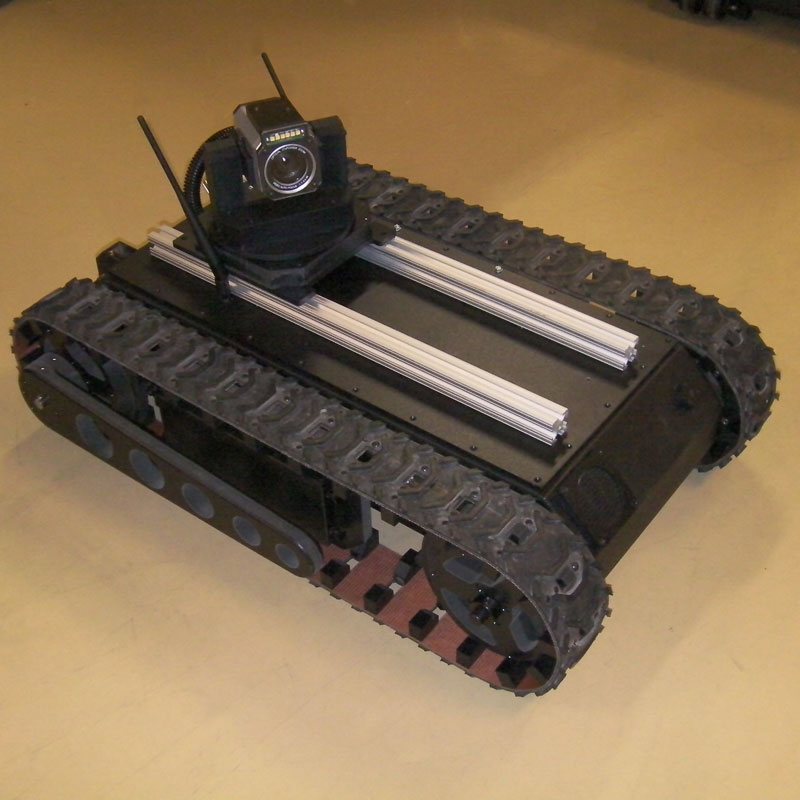 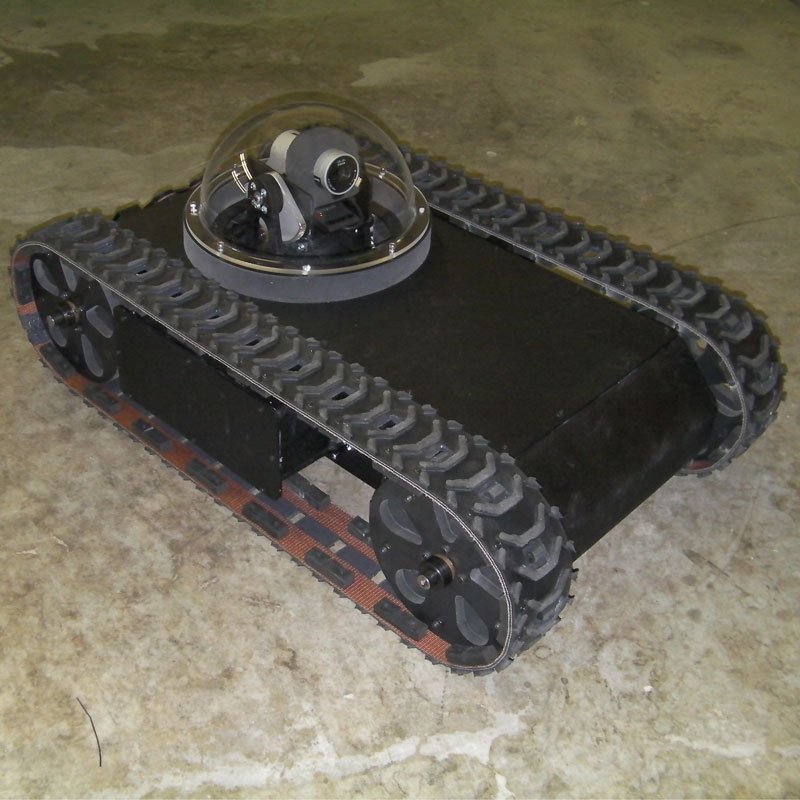 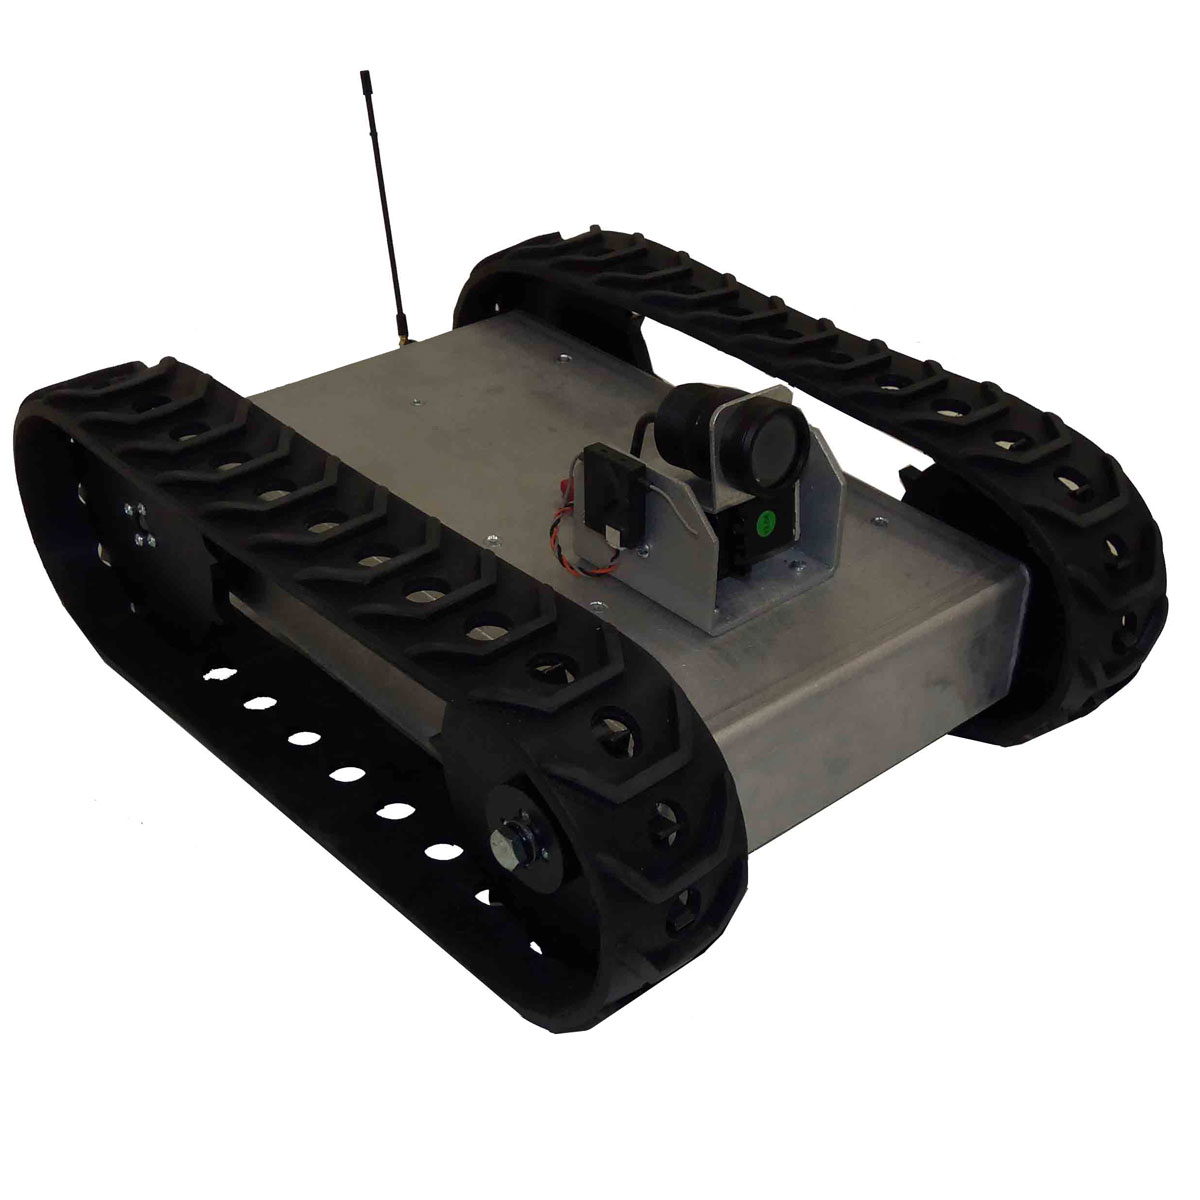 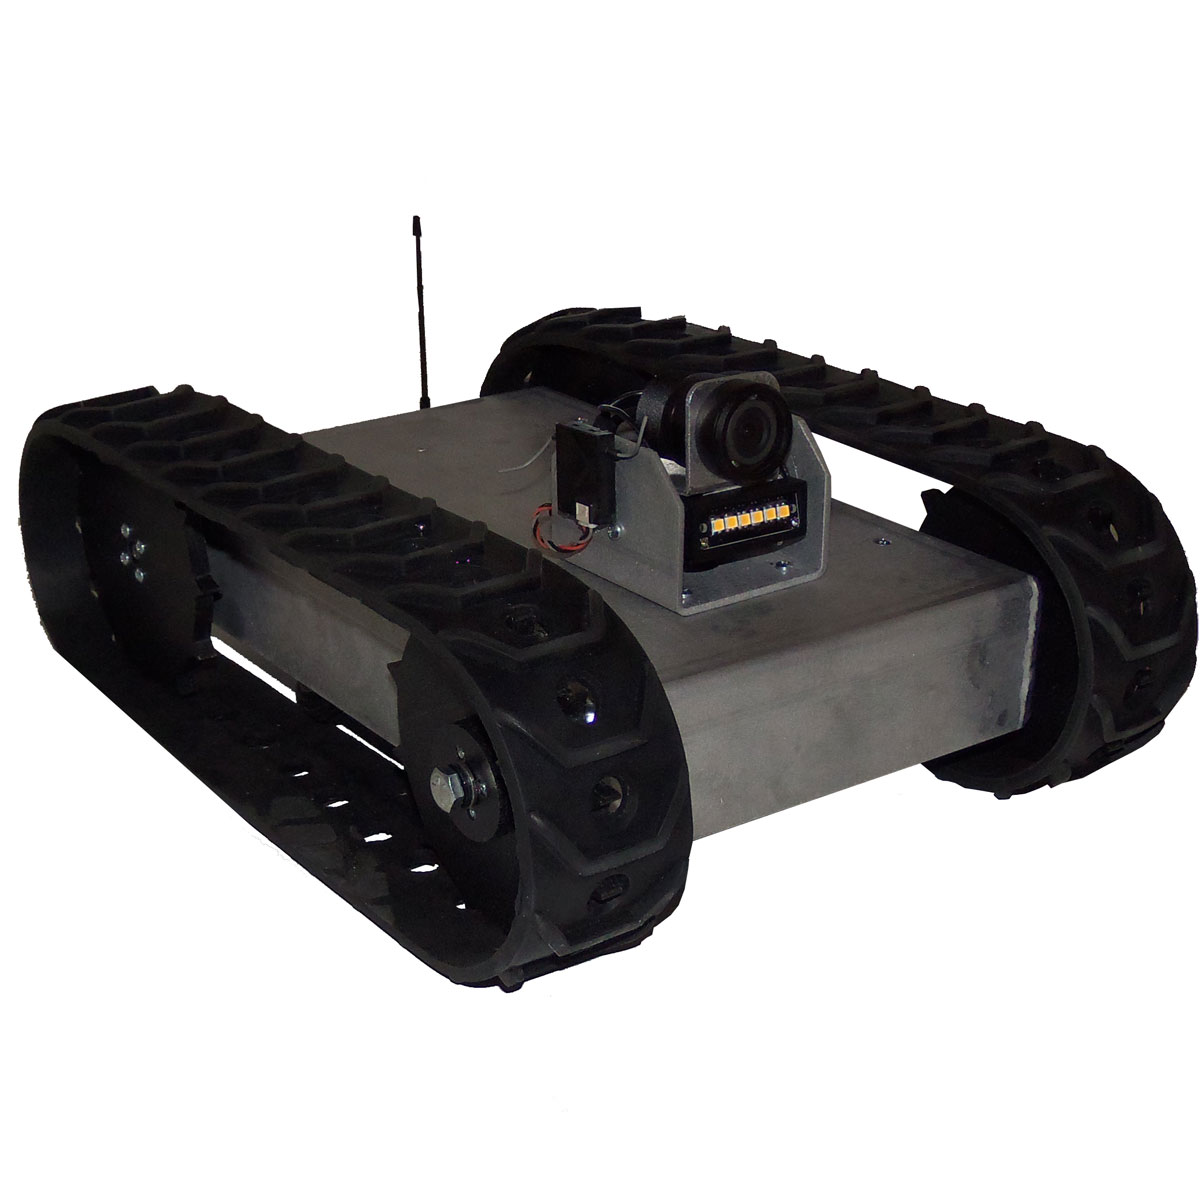  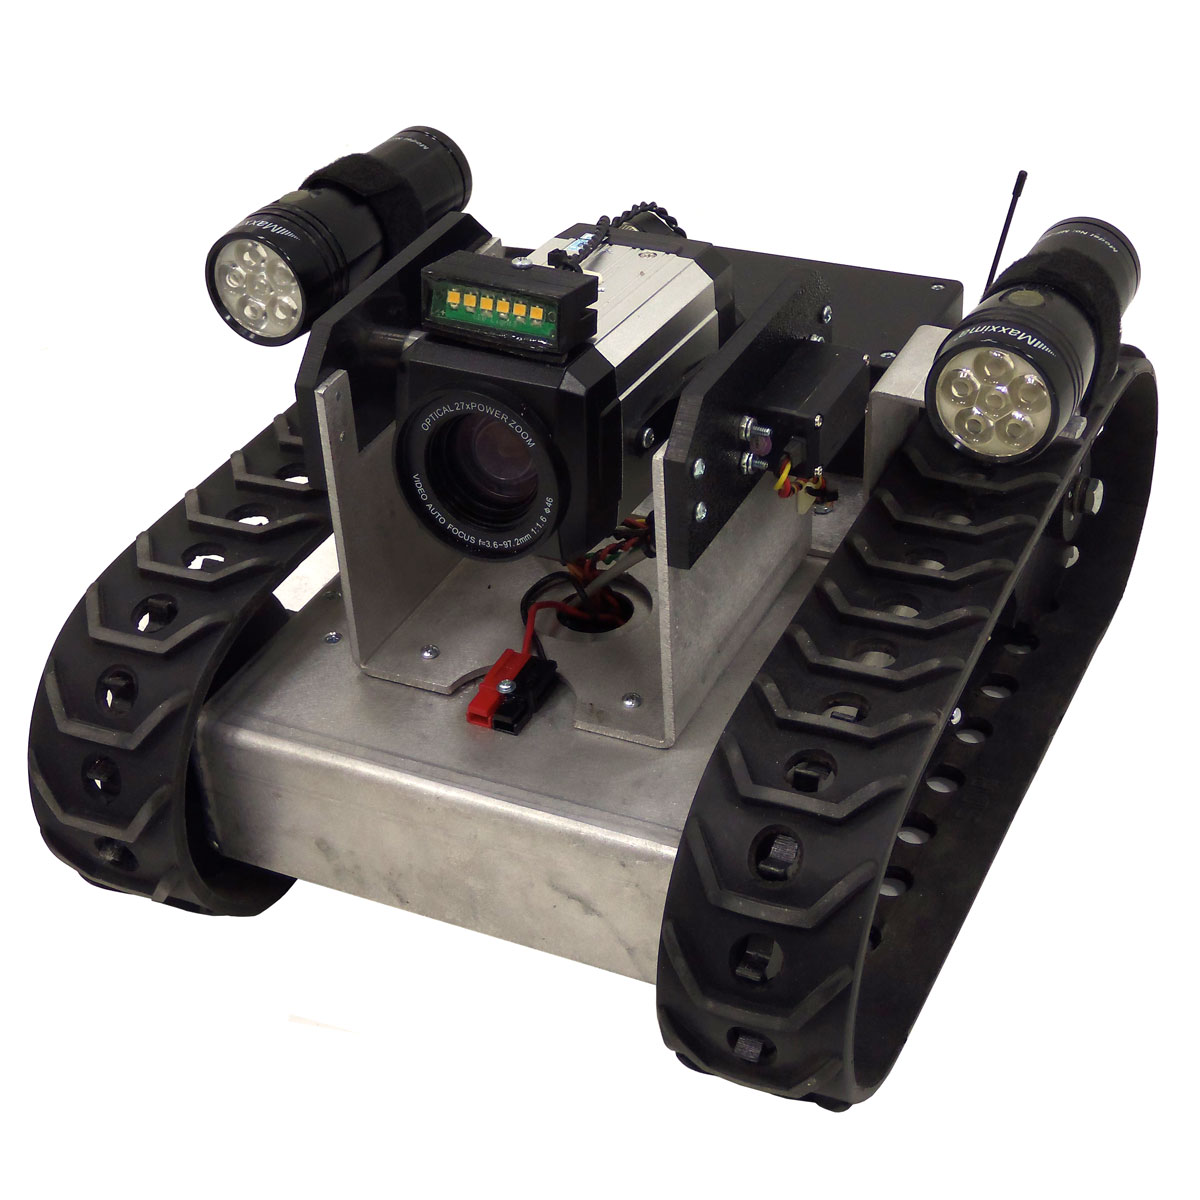  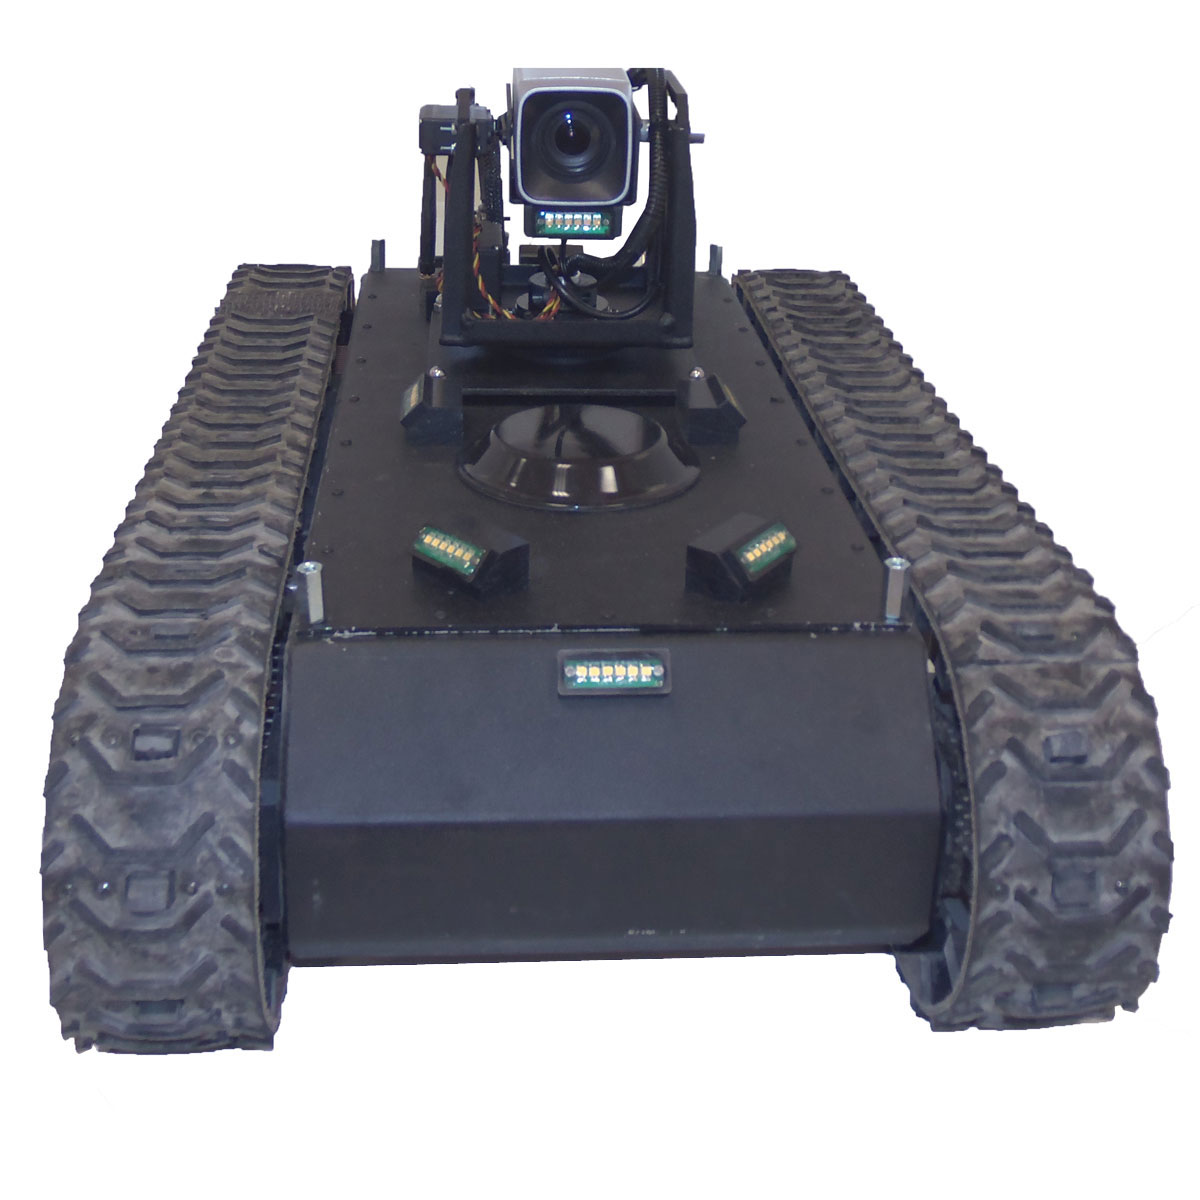 We have Inspection Robots available for purchase and immediate use.

Sections on this page:
Related Support Pages:
Related Categories:  
|
|
|